Launch EC2 Instance with Docker Installed
Being Curious is better than being Smart.
As I am a part of the FREE AWS CLOUD PROJECT BOOTCAMP organized by Andrew Brown, so they have been assigning us weekly homework challenges. I would like to share one of my Week-1 Homework Challenges which is: Launch an EC2 instance that has docker installed, and pull a container to run your docker processes. Here is the step-by-step guide to complete this task. Also, I would like to thank Nirav Raychura for guiding me to understand every process of it and complete this challenge.
Let's Begin!!
#1 Push docker images into the DockerHub
Steps to be followed :
Create a DockerHub account on https://hub.docker.com/ and Sign-In.

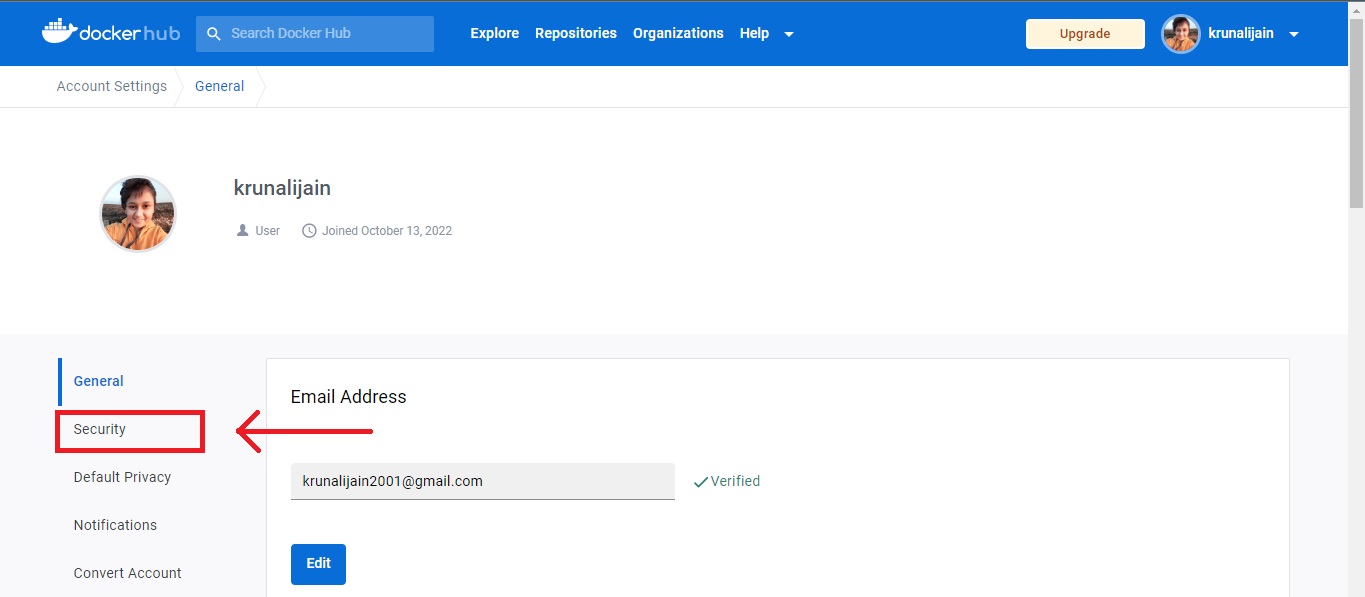
You will find this dashboard once you log in to your DockerHub account. To create Access Token click on your top right corner -> profile picture. A drop down list appears.
Select -> Account Settings

then select -> Security
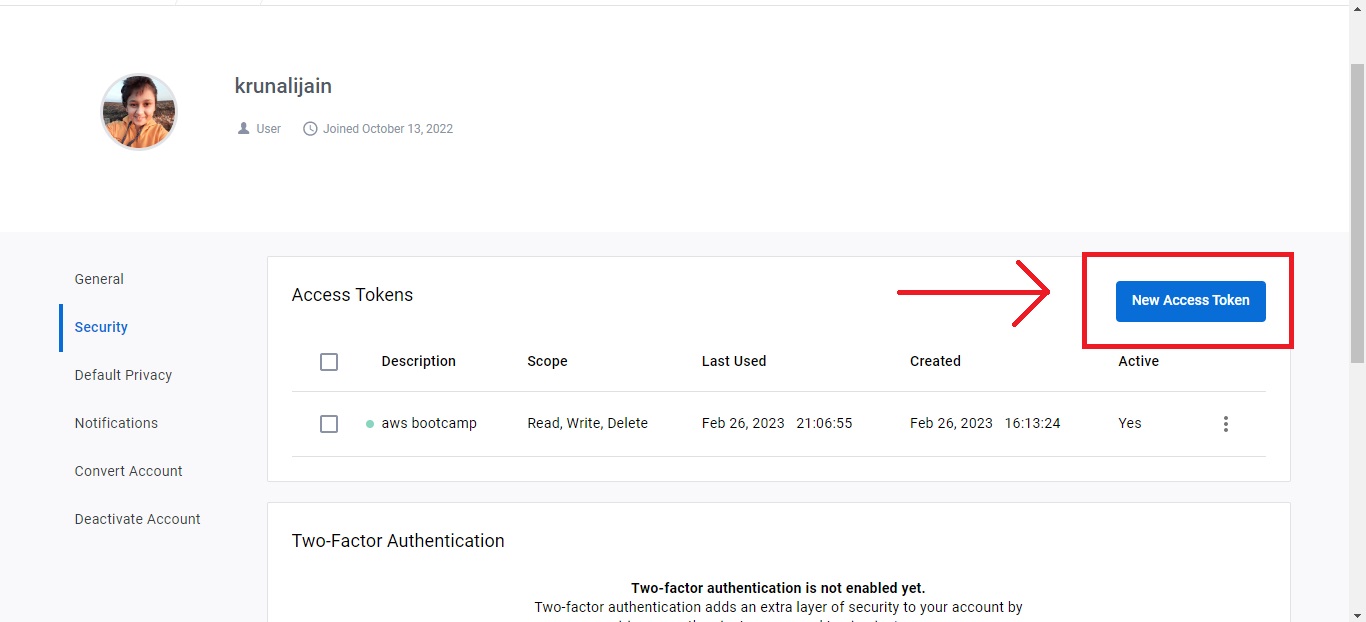
you can click on New Access Token and create one for your DockerHub account.
Give the access token name and click on Generate.
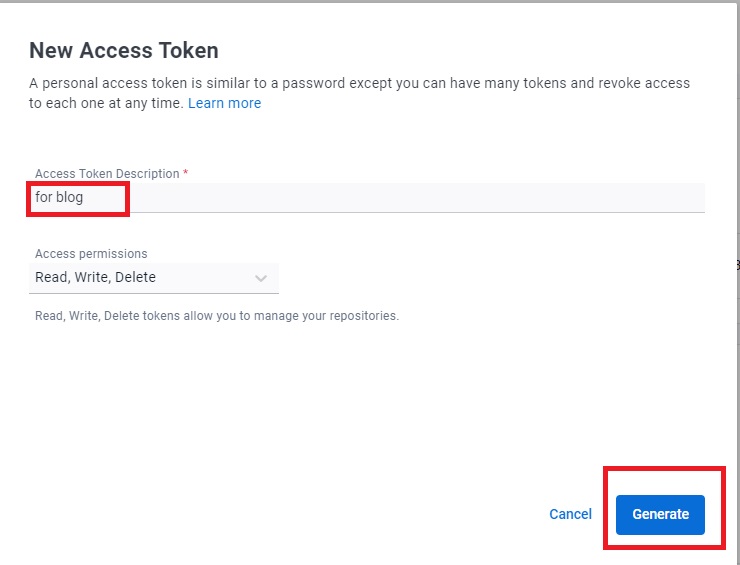
Don't forget to copy and keep your access token in your sticky notes.

Open your Gitpod terminal and run the following command to log in to your docker account inside your Gitpod. Don't forget to edit your username and access token. (PS: This isn't my active access token so I haven't hidden this, but you should not share this access_token with anyone for security purposes).
docker login -u krunalijain -p dckr_pat_RqSHEKaMuGRbqN63d7VYbGMLTHUTo upload the docker images without giving any tag (by default it uses the "Latest" tag) run the following commands
docker image tag aws-bootcamp-cruddur-2023-backend-flask:latest krunalijain/cruddur-backenddocker image tag aws-bootcamp-cruddur-2023-frontend-react-js:latest krunalijain/cruddur-frontendAfter that, I pushed the Images by running the following commands
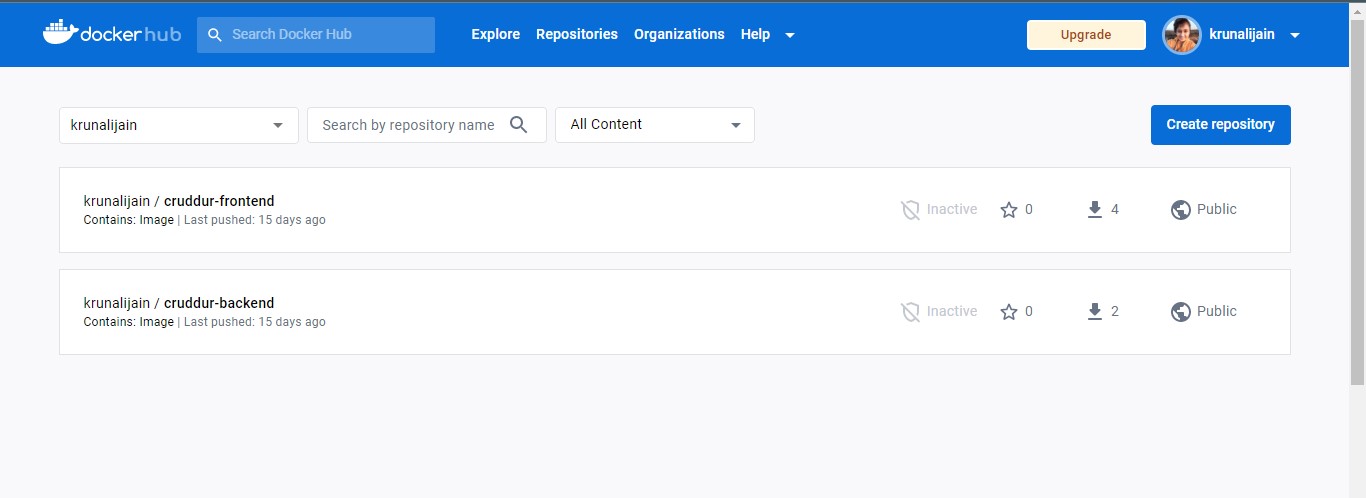
docker image push krunalijain/cruddur-backend:latestdocker image push krunalijain/cruddur-frontend:latestAnd you can see these images in your DockerHub account under the Repositories section.
#2 Creating a new Git Repository
Log in to your GitHub account and Create a new repository.
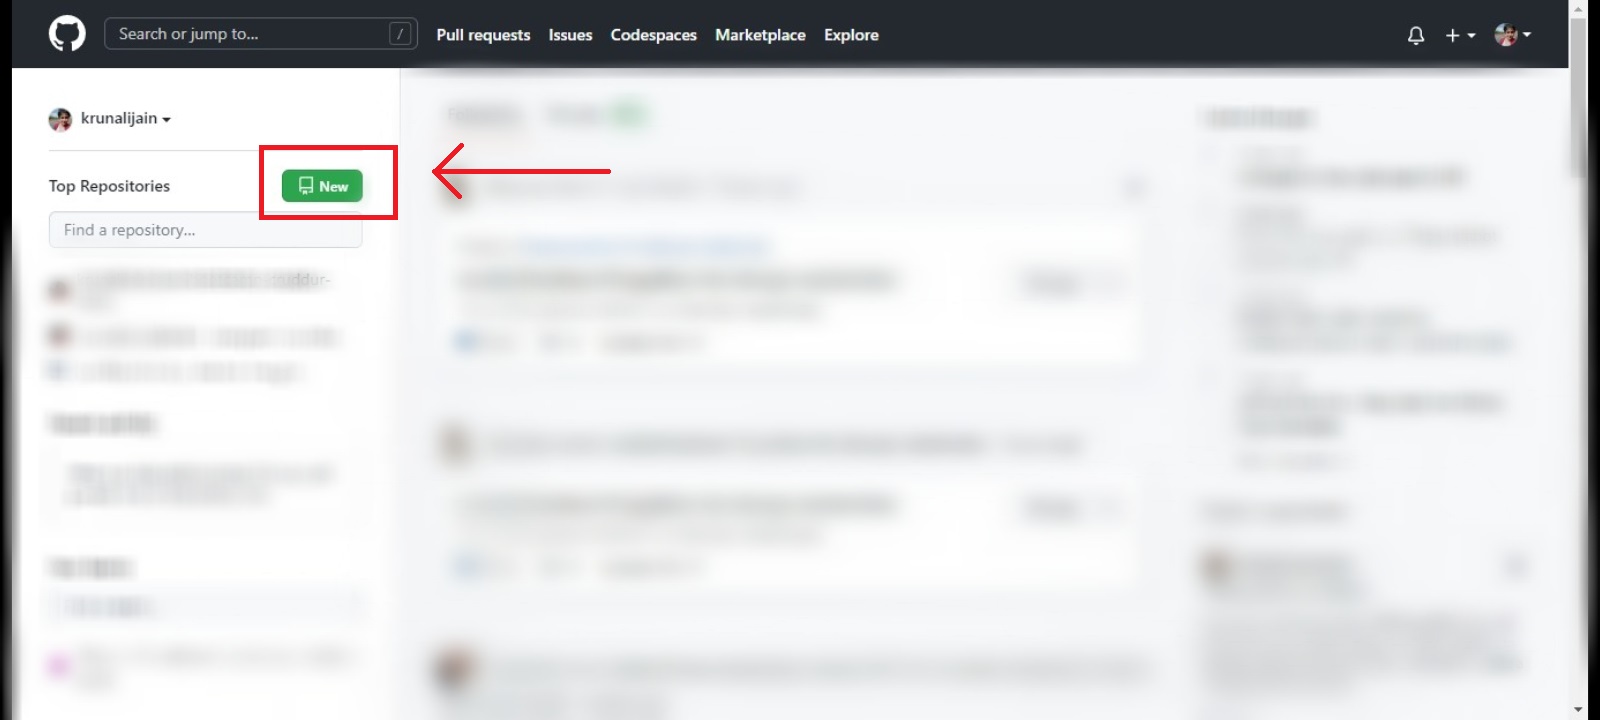
Then give a New Repository name as docker-compose-cruddur and keep it Public and click on Create repository.

Create a new file and name it docker-compose.yml and add this code to your file and click on commit.
 version: "3.8"
 services:
   backend-flask:
     environment:
       FRONTEND_URL: "http://${ips}:3000"
       BACKEND_URL: "http://${ips}:4567"
     image: krunalijain/cruddur-backend
 #    build: ./backend-flask
     ports:
       - "4567:4567"
     volumes:
       - ./backend-flask:$HOME/backend-flask
   frontend-react-js:
     environment:
       REACT_APP_BACKEND_URL: "http://${ips}:4567"
     image: krunalijain/cruddur-frontend
 #    build: ./frontend-react-js
     ports:
       - "3000:3000"
     volumes:
       - ./frontend-react-js:$HOME/frontend-react-js

 # the name flag is a hack to change the default prepend folder
 # name when outputting the image names
 networks:
   internal-network:
     driver: bridge
     name: cruddur
NOTE: Don't forget to change your image name. Replace it with your DockerHub username.

#3 Create an EC2 Instance in your AWS account.
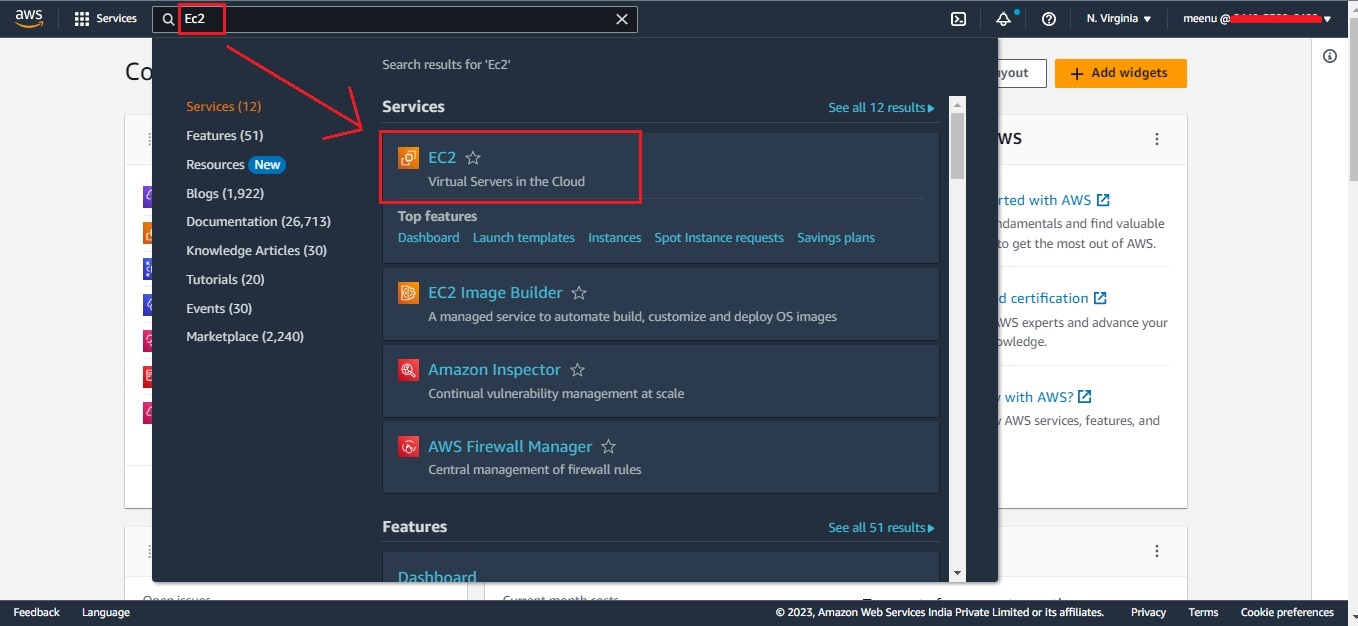
I assume you have an AWS account and have already set your IAM user. It's a good practice to always work on IAM user. So log in to your AWS IAM user and search for EC2 and click on that
After clicking on EC2, you will view the EC2 dashboard page and on the left side you will find a panel of EC2 features. From there you need to scroll down and find Key Pairs. Click on Key Pairs and then Create Key Pair. It's better to create a key pair before creating an instance.

Give the name as cruddur, choose RSA as Key Type and .ppk for the file format. Then click Create key pair

Then we'll create an Instance
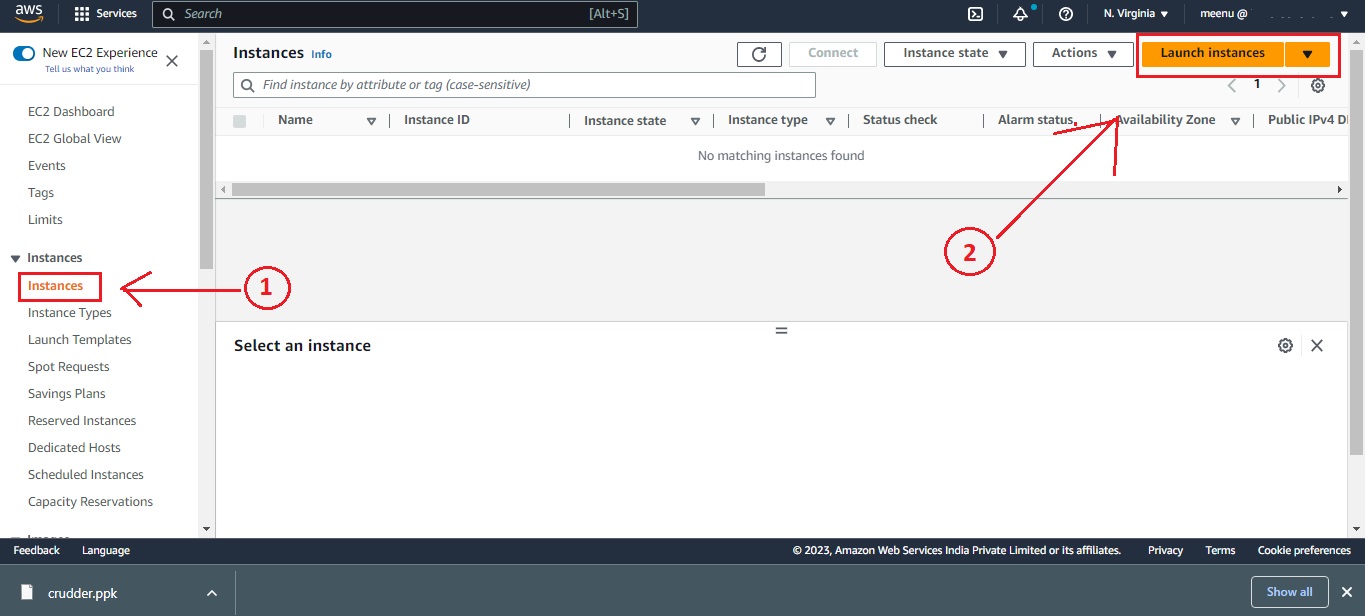
After clicking on Launch Instance, give instance name -> cruddur -> keep the rest as default -> select key pair cruddur

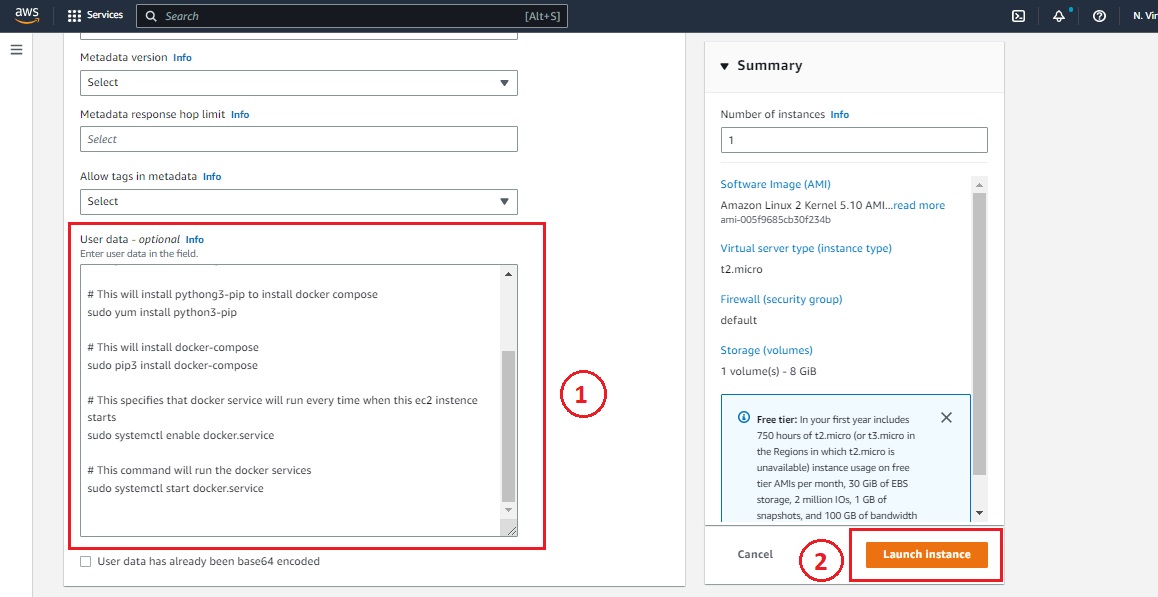
Then click on Advanced details -> then go to the bottom and in the User data section paste this code for installing docker and provisioning its services.
NOTE: Don't forget to hit ENTER after pasting the code into User data so that it runs all the commands without any interruption.
 #!/bin/bash

 # This will update the ec2 instance
 sudo yum update -y

 # This will install docker into ec2 instence
 sudo yum install docker -y

 # This will install pythong3-pip to install docker compose
 sudo yum install python3-pip

 # This will install docker-compose
 sudo pip3 install docker-compose

 # This specifies that docker service will run every time when this ec2 instence starts
 sudo systemctl enable docker.service

 # This command will run the docker services
 sudo systemctl start docker.service
Then click on Launch Instance
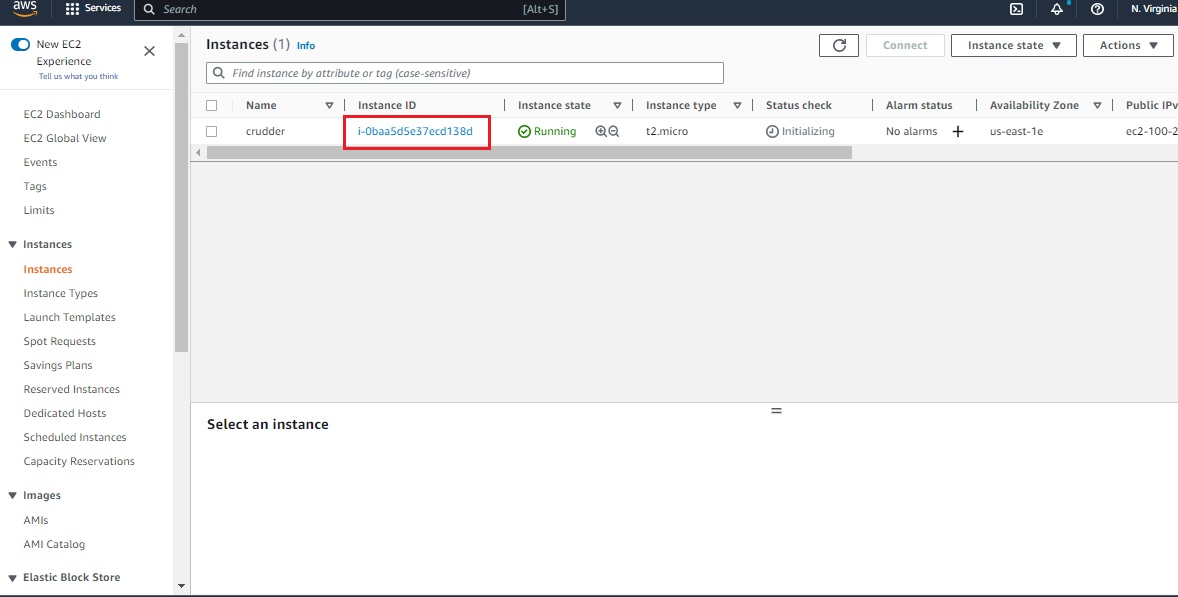
Once the instance is launched, go back to your Instance tab and you will find your newly created instance cruddur. Click on Instance Id and now we will set some Inbound rules for that instance.
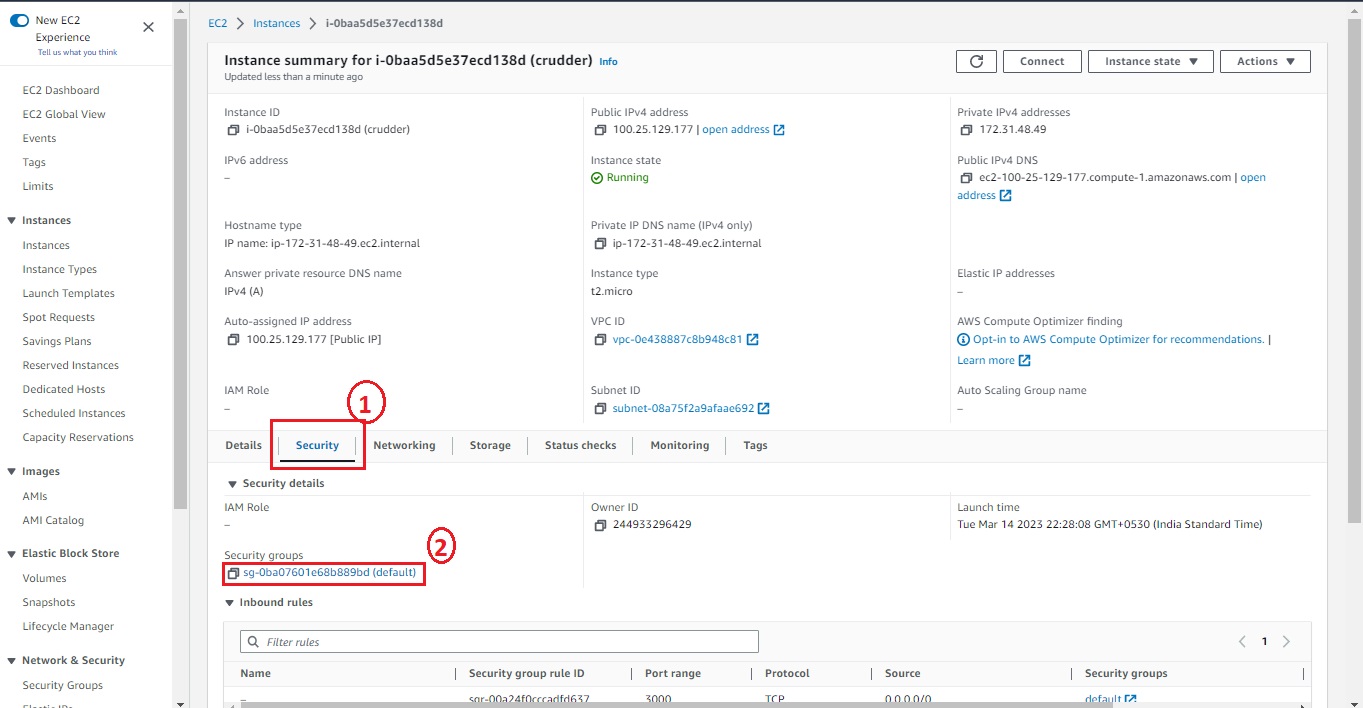
Go to Security -> click on security groups ID
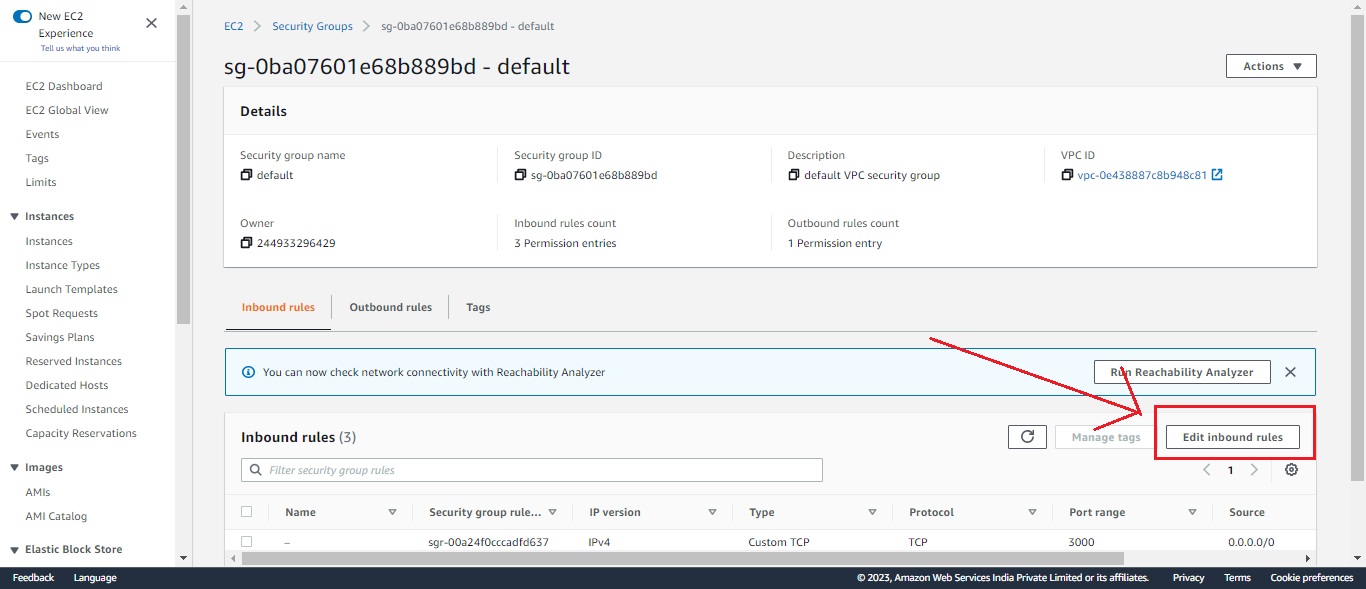
Click on Edit Inbound Rules
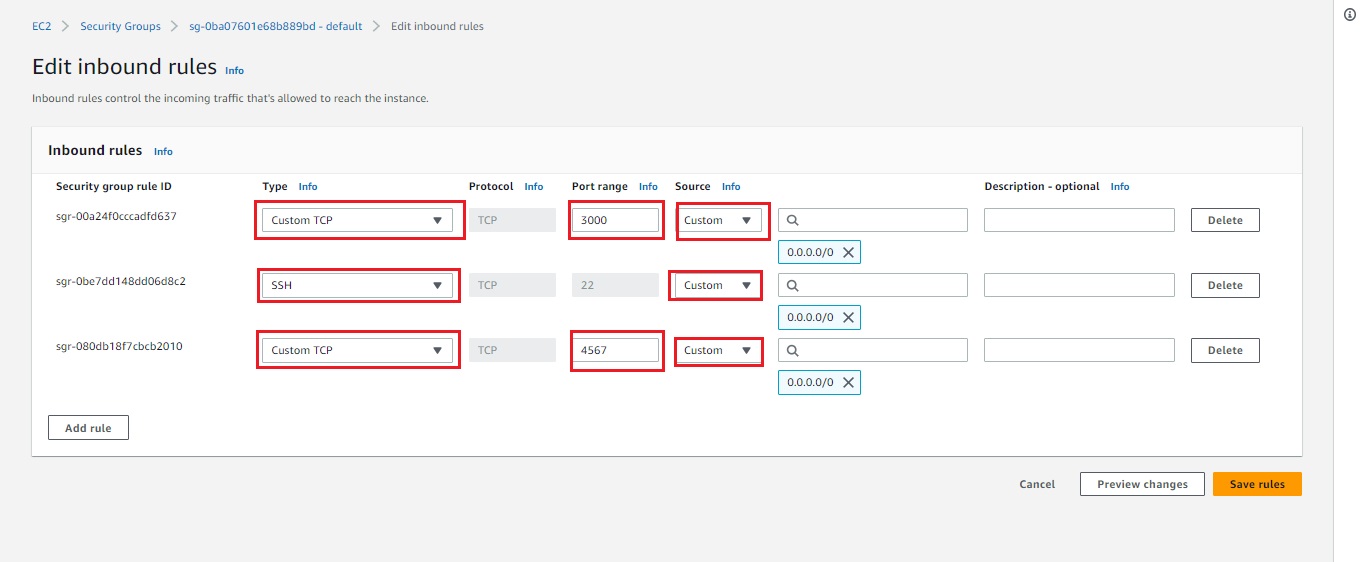
Here we will require to set three Inbound rules and then Click Save Rules.
Type[Custom TCP] -> Port range [3000] -> Source [Custom]
Type[SSH] -> Port range [22] -> Source [Custom]
Type[Custom TCP] -> Port range [4567] -> Source [Custom]
After saving those Inbound Rules, go back to instances and click on the check box of your created instance and click on Connect.

Then once again click on connect

After connecting you should see something like this [fig.01]

Now, before pasting here the code you will have to do some change to that code. So I would suggest you open your notepad and copy paste the below code and do the required modification.
# To give ec2-user permission to use docker without root (BEST PRACTICE)
sudo usermod -a -G docker ec2-user
id ec2-user
newgrp docker

# This environment variable will be used by docker-compose file
export ips=$(curl http://169.254.169.254/latest/meta-data/public-ipv4)

# Volumes for frontend and backend
mkdir $HOME/backend-flask
mkdir $HOME/frontend-react-js

# To download docker-compose file directly from my github repo (PS IT IS MY GITHUB REPO)
sudo yum install git -y
git clone https://github.com/krunalijain/docker-compose-cruddur.git

# Gitclone command will make a directory/ changing the directory
cd docker-compose-cruddur

# Putting the file to home directory
mv docker-compose.yml $HOME/docker-compose.yml

# Changing the directory to Home
cd ..

# RUN THE CONTAINERS TO ENJOY CRUDDER INSIDE EC2
docker-compose up -d
What do you have to change? The git clone link.

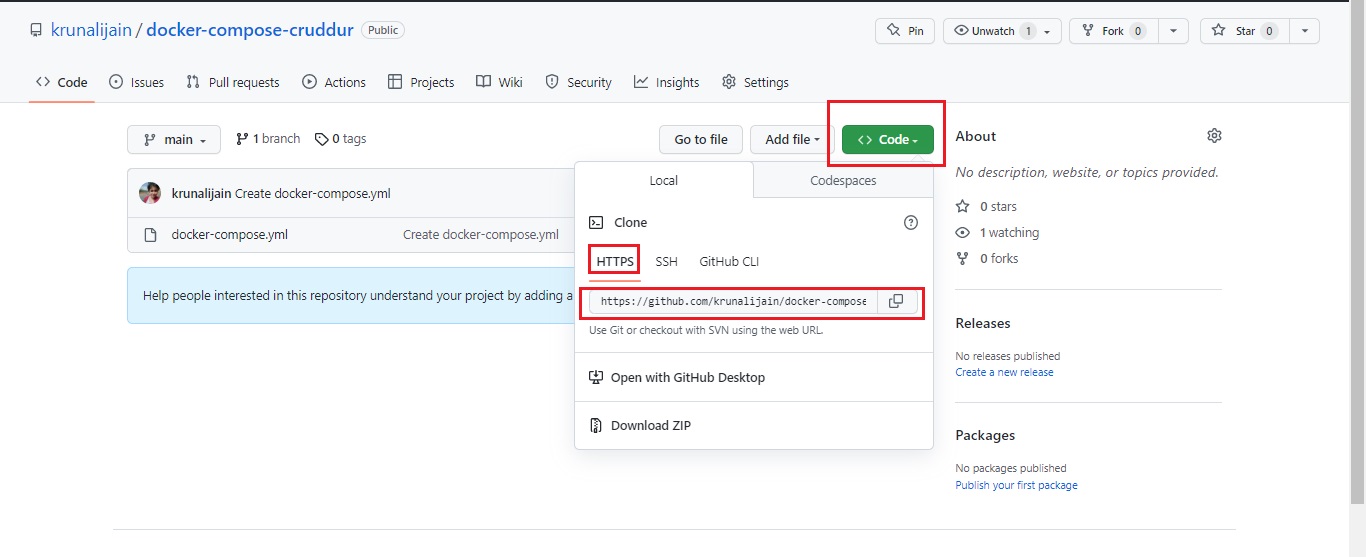
To get this Git Clone https link -> go to your GitHub repository which you had created for this task "docker-compose-cruddur" then on top right corner you will find a green code button -> click that code button and you will find HTTPS link. Copy and Paste here.
After doing this required change in the code, Copy the whole code and paste it into the connected shell (continue after [fig.01]). Don't paste it one by one, you have to Paste the whole code in One Go only and hit Enter if it doesn't run automatically. It should look something like this -

Then hit ENTER to docker compose up and you will see its successfully launched result. To view the Cruddur App, you will have to paste that Public IP in the URL on a new tab.

Finally, don't forget to Terminate the instance once your task is complicated. If you are into this Bootcamp then you can take a Screenshot with the public IP displaying for the Proof of homework challenge and then Terminate the Instance.
_____________________________________________________________________________________